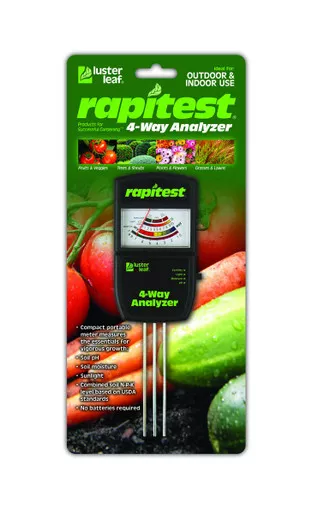
Know Your Soil — Test pH, Moisture, Light & Fertility in One Step
The Luster Leaf Electronic 4-Way Analyzer (Model 1880) gives home gardeners a complete picture of their soil health with a single tool. Using a unique three-probe design, it measures the four key factors for healthy plant growth: soil pH, soil moisture, sunlight intensity, and combined N-P-K fertility levels — all with no batteries required. Whether you’re starting a new raised bed or troubleshooting an underperforming vegetable garden, this meter takes the guesswork out of soil prep. Pair it with quality amendments from our Fertilizers & Soil Amendments collection to act on your results right away.
- 4-in-1 Measurement: Reads soil pH, moisture, sunlight, and combined N-P-K fertility levels — no separate tools needed.
- Unique Three-Probe Design: Manufacturer-engineered probe configuration allows one meter to capture all four soil parameters accurately.
- No Batteries Required: Operates entirely on probe-generated electrical signals — always ready to use.
- Includes Cleaning Pad: Comes with a specially selected cleaning pad compatible with the probe metals to protect accuracy and extend meter life.
- 1-Year Warranty: Warranted free from defects for one year from date of purchase.
Specifications sourced from Luster Leaf manufacturer documentation (Model 1880).
| Specification | Details |
|---|---|
| Model | 1880 |
| Parameters Measured | Soil pH, Soil Moisture, Sunlight, Combined N-P-K Fertility |
| Probe Design | Unique Three-Probe |
| Batteries Required | No |
| Includes | Cleaning Pad |
| Use In | Soil Only (Do Not Use in Liquids) |
| Warranty | 1 Year from Date of Purchase |
| Brand | Luster Leaf |
| SKU (DripWorks) | A4WA |
Follow these steps from the Luster Leaf instruction guide for accurate N-P-K fertility readings.
Step 1: Prepare the Soil
Remove the top 2″ of soil. Break up and crumble the soil underneath to a total depth of 5″.
Step 2: Wet the Soil
Thoroughly wet the soil with water — ideally rain or distilled water — to a mud consistency.
Step 3: Clean the Probes
Wipe the meter probes clean with a tissue or paper towel before inserting.
Step 4: Set the Switch & Insert
Move the switch to the first (top) position. Insert probes into the soil to within 1″ of the casing. Allow approximately 10 seconds for the reading to stabilize.
Step 5: Record & Clean
Record your reading. Remove probes and clean them thoroughly with the included cleaning pad after each use.