Deep Watering for Healthier Trees. The Simple DIY Orchard Solution.
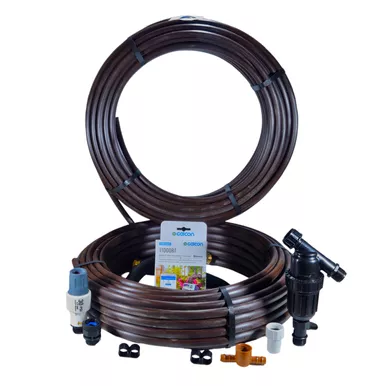
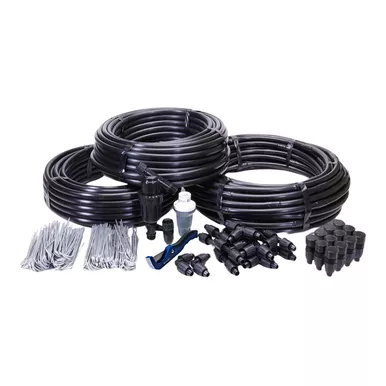
Establishing trees requires consistent, deep watering that promotes strong root systems. Hand watering often leads to runoff and shallow roots. The Small Orchard Drip Irrigation Kitis the most efficient way to automatically water up to 10 small trees. The small kit can easily be expanded to water up to 20 trees, depending on your available water flow. This complete package contains everything you need to set up a professional-grade system that delivers water precisely where your trees need it most—at the drip line.
Designed for the DIY gardener, this easy-to-install kit utilizes our “Easy Loc” fittings which require no glue or clamps. The system uses commercial-grade Emitter Tubing to ensure every tree gets uniform hydration, regardless of the terrain. Whether you are planting a new home orchard, maintaining a windbreak, or watering a berry patch, this system keeps your plants thriving with minimal effort.
The modular design allows you to start with this kit and expand later as your orchard grows. To keep your garden hose free for other tasks while your trees are being watered, we highly recommend adding a Brass Y-Splitter to your order.
This system connects easily to any standard outdoor hose faucet.
Step 1: The Header (Faucet Assembly)
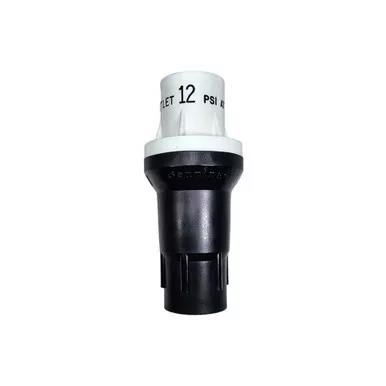
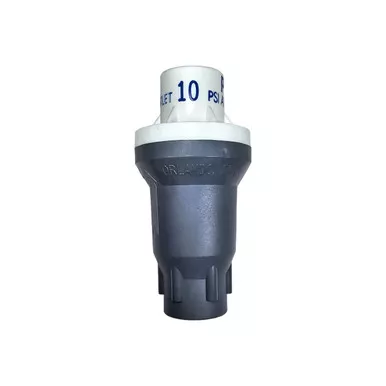
Start at your water source. Attach your Timer (optional but recommended), then screw on the Filter, followed by the Pressure Regulator, and finally the Easy Loc Female Hose Start. This “Header” ensures clean, regulated water flows to your trees.
Step 2: Lay the Mainline
Attach the 1/2″ mainline to the Easy Loc Female Hose Start. Unroll the tubing along the row of trees.
Step 3: Connect the Emitter Tubing
Use the included Tees and Elbows to navigate corners or create branches in your layout. For larger trees, you can loop the tubing around the base or run a second line on the other side of the row.
Step 4: Cap the Ends
Once your layout is complete, close the ends of the tubing with the 1/2″ Easy Loc End Cap. Secure the tubing in place with the hold downs.
For detailed assembly instructions click here, or view the diagrams in the downloads section below.