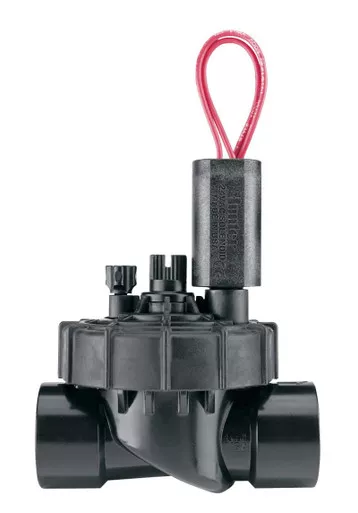
Tool-Free Maintenance with Precision Control
The Hunter PGV 1″ AC Jar-Top Valve with Flow Control is designed for homeowners and contractors who demand reliable performance without the hassle of complicated maintenance. The defining feature of this valve is its threaded “Jar-Top” cap. Instead of dealing with multiple rusted screws in a cramped, muddy valve box, you can simply unscrew the top by hand to access the internal diaphragm for quick cleaning or repairs.
Built from durable, high-grade, UV-resistant PVC, this valve is engineered to withstand the rigors of any residential landscape. It features a rugged, double-beaded diaphragm for a leak-proof seal and an integrated flow control dial, allowing you to manually adjust the water volume to perfectly match the needs of your specific sprinkler or drip zone.
- Tool-Free Access: The threaded Jar-Top ring allows you to easily open the valve by hand for inspection and maintenance.
- Built-In Flow Control: A manual dial on top lets you fine-tune the water output, reducing flow to optimize drip zones or lower-pressure sprinkler heads.
- Double-Beaded Diaphragm: Ensures a leak-proof seal and provides structural support to prevent stress failure under high pressure.
- Encapsulated Solenoid: The 24V AC solenoid is fully sealed and highly durable, guaranteeing reliable electronic activation time after time.
Detailed specifications for system planning.
| Specification | Details |
|---|---|
| Operating Flow Range | 0.2 to 30 Gallons Per Minute (GPM) |
| Operating Pressure Range | 20 to 150 PSI |
| Inlet / Outlet Size | 1″ Female Pipe Thread (FPT) |
| Solenoid Power | 24 VAC (Standard wired controllers) |
| Body Style | Inline (Straight through) |
Follow these steps to wire and install your Hunter PGV valve.
Step 1: Plumb the Valve
Using Teflon tape, thread your 1″ PVC male adapters into the inlet and outlet ports of the valve. Ensure the directional arrows on the valve body point in the direction of the water flow.
Step 2: Connect the Common Wire
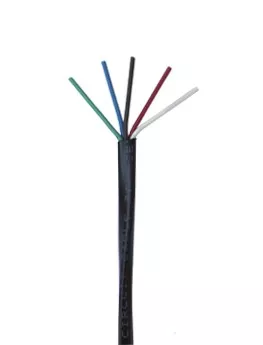
Identify the two wires attached to the solenoid. Connect one of these wires (it does not matter which) to the common wire returning to your irrigation controller using a waterproof wire nut.
Step 3: Connect the Station Wire
Connect the remaining solenoid wire to the specific station/zone wire running back to your controller using a waterproof wire nut.
Step 4: Adjust the Flow Control
Turn on the zone manually. Rotate the central flow control handle to fine-tune the water output until your sprinklers or drip emitters are operating at optimal pressure.