
Maximum Yields. Zero Hassle. The Ultimate Large Container Solution.
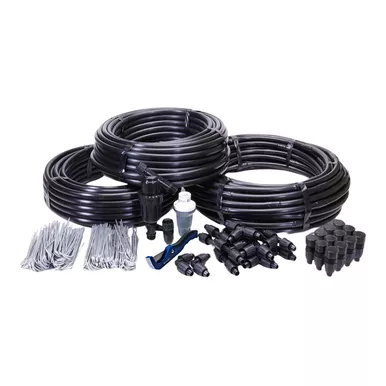
When your container garden starts taking over your life, it’s time to switch to an automated drip system. The Monster Cannabis Kit is specifically engineered to water up to ten massive 200 to 400-gallon Smart Pots or large planters. This high-capacity system delivers a precise, uniform amount of water to every container in minutes, allowing you to maximize yields while eliminating the back-breaking labor of hand-watering.
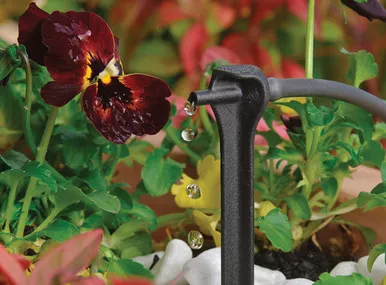
Built around a high-flow 3/4″ Mainline, this kit utilizes our top-selling 1/2″ Emitter Tubing (featuring pressure-compensating 0.5 GPH emitters spaced every 9 inches). This tubing is perfect for container gardening; simply spiral it around the root base of your plant or weave it through the container for even, deep-root coverage. Because the emitters are pressure-compensating, this kit performs flawlessly even on sloped or uneven ground.
Pro Tip: We’ve included a Hose Y Valve right in the box. Attach it to your faucet so you can run your automated irrigation system and still have a free spigot for your garden hose!
This heavy-duty system connects easily to any standard outdoor hose faucet.
Step 1: The Header Assembly
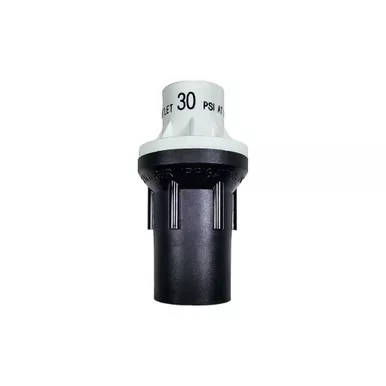
Start by attaching the Hose Y Valve and the 3′ Hose Extension to your faucet. If using the optional High Flow Timer, connect it next. Then, screw on the Filter, the 30 PSI Regulator, and the 3/4″ Easy Loc Female Hose Start. This creates your system “Header.”
Step 2: Lay the High-Flow Mainline
Run the robust 3/4″ Mainline Tubing past all of your large containers. At each container location, use the included Punch N’ Cut tool to cleanly cut the mainline and insert a 3/4″ Easy Loc Tee.
Step 3: Branch to the Containers
From each 3/4″ Tee, attach a 3/4″ Easy Loc Valve (allowing you to turn individual pots on or off). Then, attach a 3/4″ x 1/2″ Reducing Elbow to step down to your emitter tubing size.
Step 4: Layout the Emitter Tubing
Connect the 1/2″ Emitter Tubing to the reducing elbow. Spiral the tubing inside the Smart Pot around the root base of your plant. Secure the spirals in place using the U-Shaped Wire Hold Downs, and cap the very end of the line with a simple 1/2″ Figure 8 End.
For detailed diagrams and step-by-step visuals, download the complete installation instructions.